colour negative · Kodak · ISO 400
Kodak Portra 400
The default modern portrait film: warm, forgiving skin tones and a very long highlight roll-off.
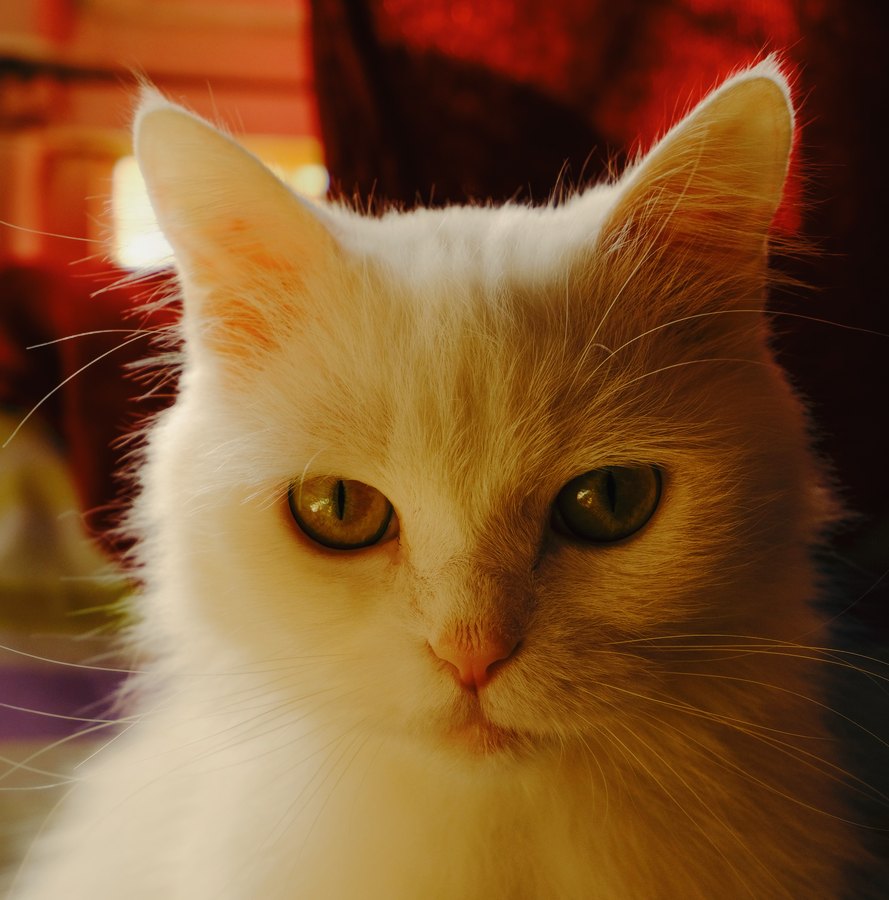
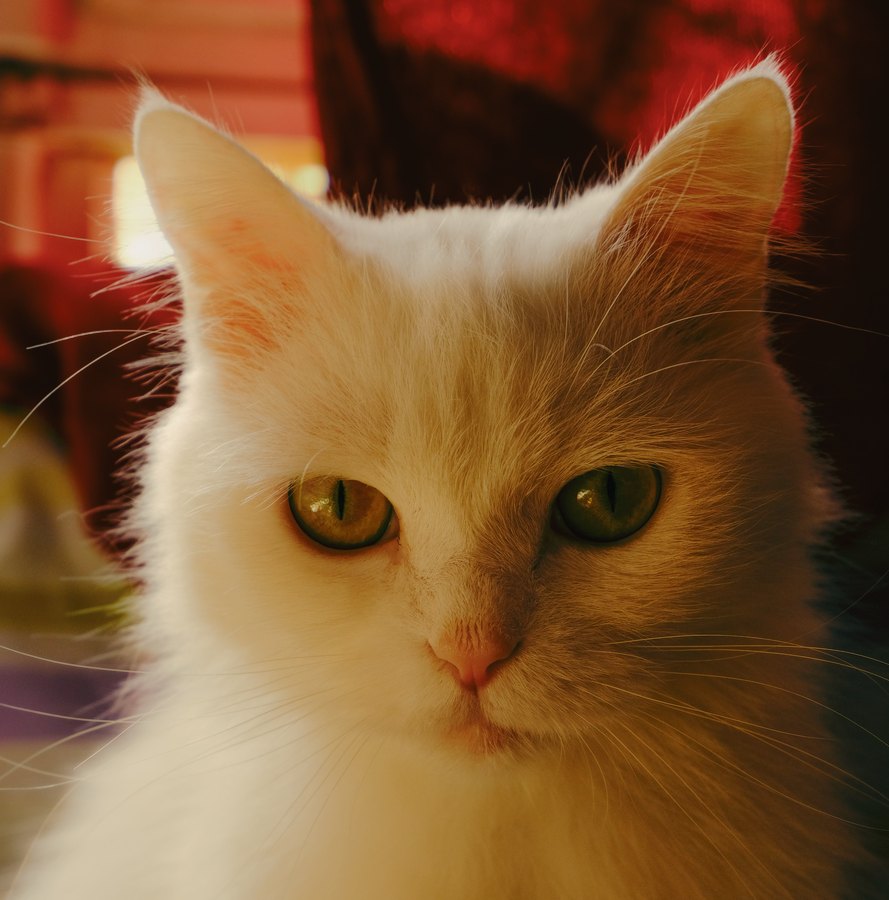
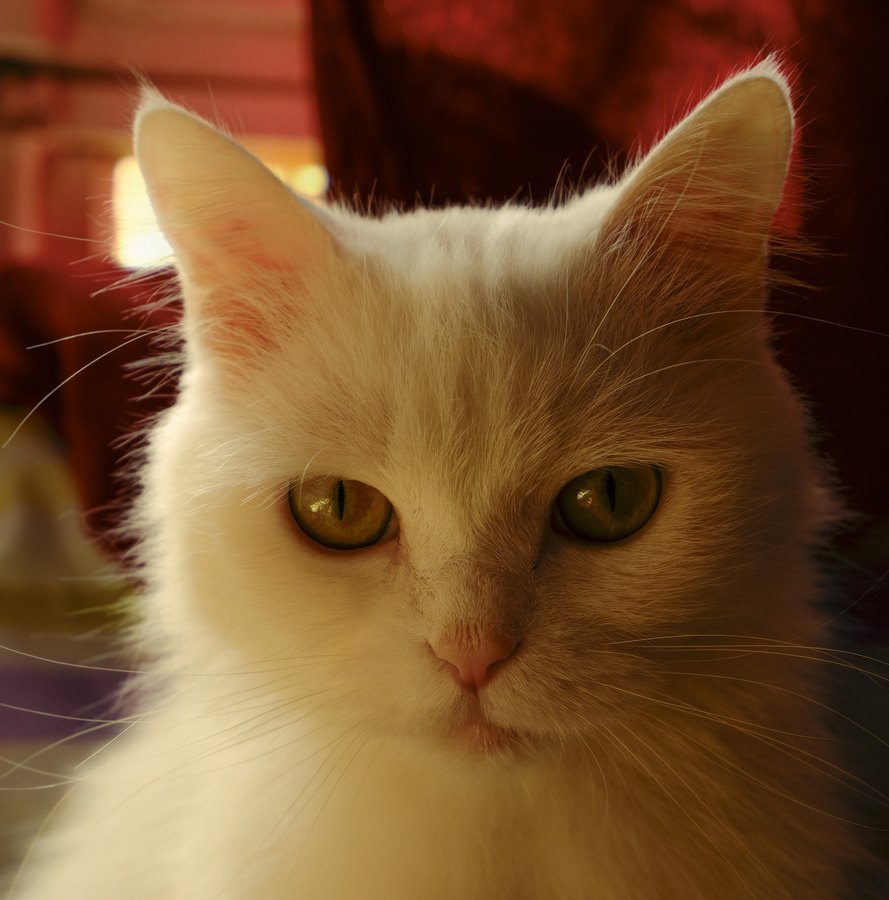 Original
Kodak Portra 400
Original
Kodak Portra 400
Drag to compare. 16 renderings of Kodak Portra 400 are included.
Try it on your own photo → Download .cube
What this look does
Lifts and slightly warms midtones while keeping highlights from ever going hard. Reds and oranges stay creamy instead of saturating, greens are pulled slightly toward yellow, and blues stay muted. The result reads as gentle rather than colourful.
portraitsweddingsskin tonesovercast light
About Kodak Portra 400
Portra 400 replaced the older 400NC (Natural Colour), 400VC (Vivid Colour) and 400UC (Ultra Colour) emulsions in 2010, folding their behaviour into one film. This collection still carries all three, so you can compare the neutral, punchy and saturated renderings side by side — NC for editorial skin, VC for a little more snap, UC for consumer-print colour. Portra is famously hard to overexpose; the +1 and +2 variants here mimic that latitude rather than blowing out.
Included renderings
In Filmgrid each rendering carries its own name. The exposure and temperature labels describe how it differs from the base look.
| Filmgrid name | Rendering | LUT |
|---|---|---|
| Clear Spring | -1 stop | .cube |
| Lively Seaside | base | .cube |
| Cool Melbourne | +1 stop | .cube |
| Light Daylight | +2 stops | .cube |
| Wistful Hometown | NC, -1 stop | .cube |
| Grainy Grandma | UC, -1 stop | .cube |
| Analog Memory | VC, -1 stop | .cube |
| Bygone Memory | NC, base | .cube |
| Faded Postcard | UC, base | .cube |
| Warm Cassette | VC, base | .cube |
| Rustic Summer | NC, +1 stop | .cube |
| Retro Album | UC, +1 stop | .cube |
| Weathered Provence | VC, +1 stop | .cube |
| Sunbleached Porch | NC, +2 stops | .cube |
| Old Highway | UC, +2 stops | .cube |
| Sepia Seoul | VC, +2 stops | .cube |
How to use this LUT
The download is a standard .cube 3D LUT, so it loads in almost anything: Lightroom Classic (Profile → Browse), Photoshop (Color Lookup adjustment layer), Premiere Pro (Lumetri → Creative), DaVinci Resolve (LUTs panel), Final Cut Pro (Custom LUT effect), Affinity Photo, Capture One and OBS. See the step-by-step guide if you have not loaded one before.
Photographers who work in Lightroom often call these presets. Strictly they are profiles rather than presets, and the difference matters when you want to edit the look further — that distinction is explained here.
If you only want the finished picture, skip the download: open the tool, drop a photo in and export at full resolution. Nothing leaves your device.
Questions
- Is Kodak Portra 400 still made?
- Yes, Kodak Portra 400 is still in production. This page emulates its look digitally so you can preview it before shooting a roll, or apply it to photos taken on something else.
- Can I use Kodak Portra 400 as a Lightroom preset?
- Effectively, yes. The download is a
.cubeLUT, and Lightroom imports those as profiles — Develop → Profile Browser → Import Profiles. A profile behaves like a preset and adds an Amount slider for strength. See LUTs versus presets for what differs. - Is the Kodak Portra 400 LUT free?
- Yes. Every rendering downloads as a
.cubefile with no account, no email and no watermark, and the browser tool exports at full resolution for free as well.
Similar looks
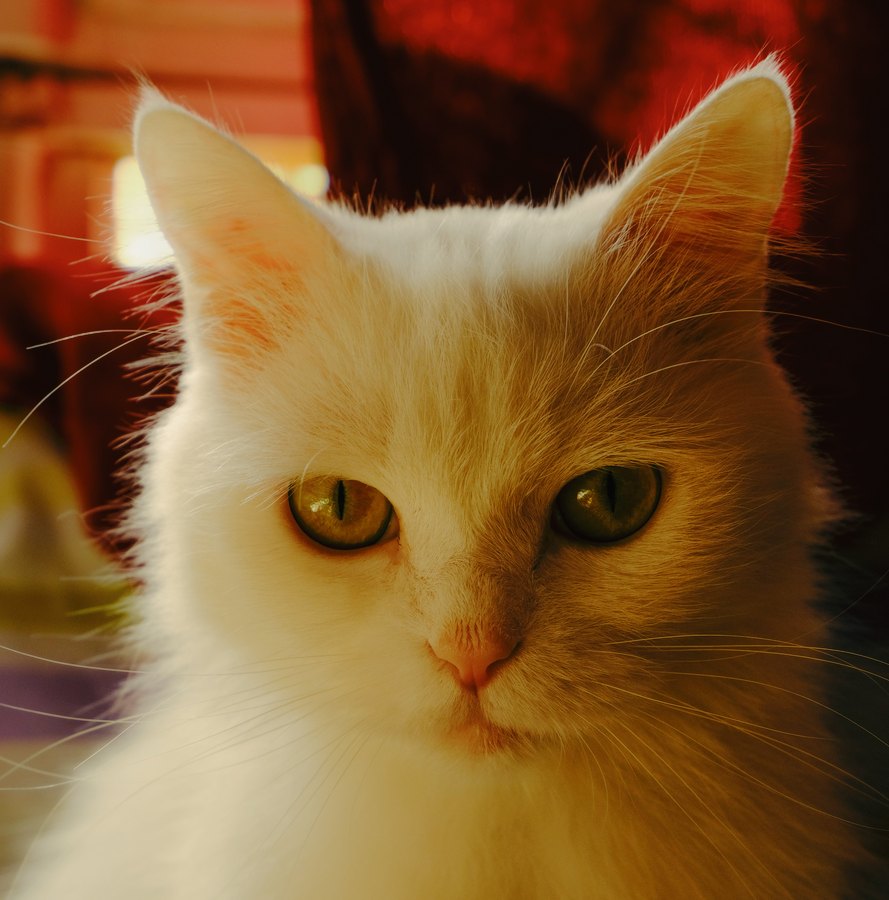
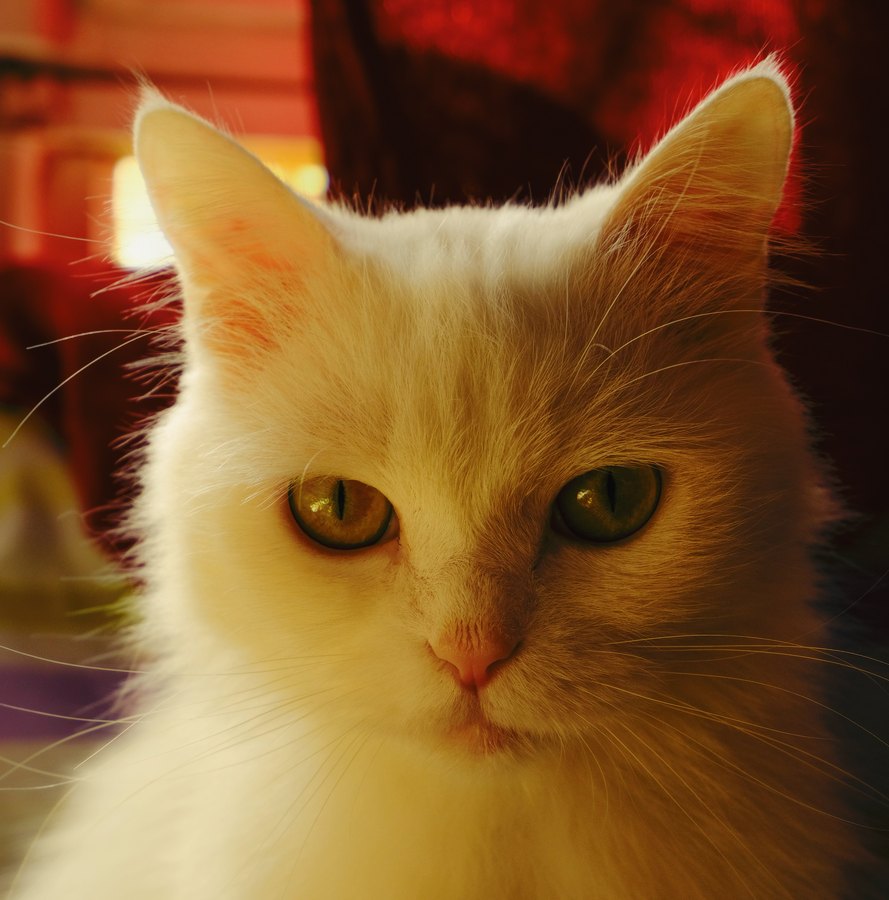
Compared with
Two looks described in words is guesswork; two looks on the same photograph is not.
- Kodak Portra 400 vs Fuji 400H — Warm or cool?
- Kodak Portra 400 vs Kodak Ektar 100 — Gentle or vivid?
- Kodak Portra 160 vs Kodak Portra 400 — Which Portra?
- Fuji Superia 400 vs Kodak Portra 400 — Consumer or professional?
- Kodak Portra 400 vs Kodak Portra 800 — How much speed do you actually need?
More colour negative film · All Kodak looks · Warm Film Looks · Cinematic Looks